In my previous post I showed an example of how as part of the provisioning of a service CloudForms could be integrated with Ansible Tower to provide greater re-usability and portability of stacks across multiple infrastructure/cloud providers. Now I would like to show an example of how Ansible Tower’s Dynamic Inventory feature can be used in conjunction with the inventory in CloudForms to populate an inventory that can have job templates executed on them. Right now CloudForms has hosts and virtual machines in it’s inventory that would be useful to Ansible, but in the next version container support will allow CloudForms to pass Ansible an inventory of containers as hosts as well (that will be really interesting).
For those not familiar, Dynamic Inventory is a feature in Ansible Tower that allows users to maintain an inventory of hosts based on the data in an external system (LDAP, cobbler, CMDBs, EC2, etc) so they can integrate Ansible Tower into there existing environment instead of building a static inventory inside Ansible Tower itself. Since CloudForms can maintain discovery of existing workloads across many providers (vSphere, Hyper-V, RHEV, OpenStack, EC2 to name a few) it seems natural that it would be a great source of providing a dynamic inventory to Ansible for execution of job templates.
I authored the ansible_tower_cloudforms_inventory.py script to allow users to build a dynamic inventory in Ansible Tower that comes from CloudForms virtual machine inventory. This means that any time a user provisions a VM on vSphere, Hyper-V, OpenStack, RHEV, EC2, or other supported platform – CloudForms will automatically discover that VM and Ansible Tower will have it added to an inventory so it can be managed via Ansible Tower.
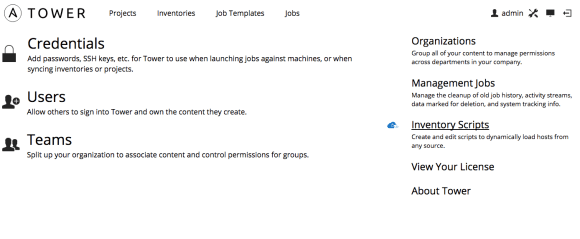
To use the script simply navigate to Ansible Tower’s setup page and select “Inventory Scripts”.
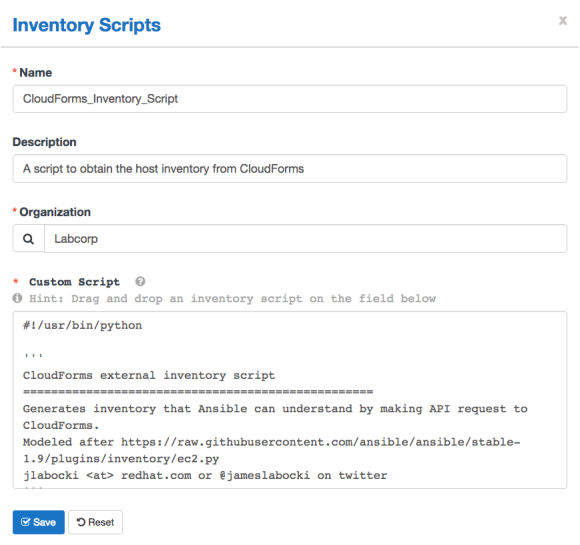
 From there select the icon to add a new inventory script. You can now add the inventory script and name it and associate it with your organization.
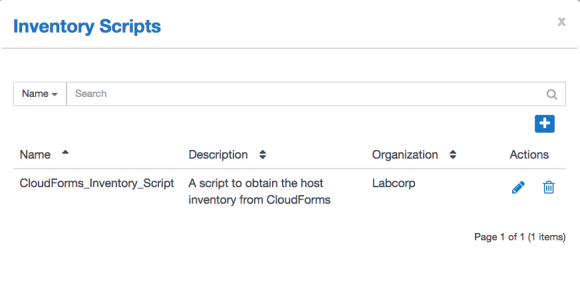
You should now see the added inventory script.
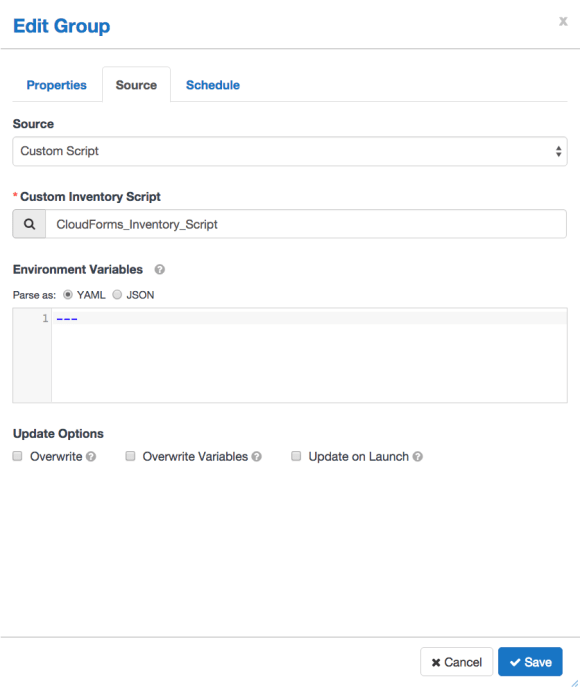
Now within the inventory of your choosing add a new group named “Dynamic_CloudForms” and change the source to “Custom Script” and select your newly added script within “Custom Inventory Script”.
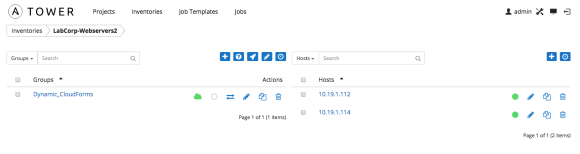
Your new group should be added to your inventory
One last thing needed by the script is the cloudforms.ini file. This file holds things like the hostname of your CloudForms instance, the username and password to use to authenticate, and other information. You’ll need to place this on your Ansible Tower server in /opt/rh/cloudforms.ini. I also found I had to install the request service on the Ansible Tower server (`yum install python-pip -y; pip install requests`).
Now you should be able to run the “start sync process” manually from the inventory screen (it’s an icon that looks like two arrows pointing opposite directions). You could also schedule this sync to run on a recurring basis.
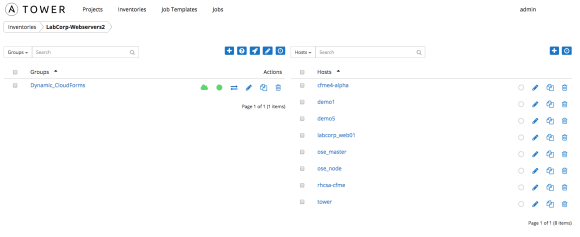
And Voila! Your inventory has been populated with names from CloudForms. The script will take into account some VMs may be powered down or actually be templates and add only those machines with a power_state of “on”.
It should be noted that the inventory script currently adds the VM based on it’s name in CloudForms. This is because my smart state analysis isn’t set up in my appliance and I don’t have any other fields available to me. What should be done eventually (when smart state is working) is changing the ansible_tower_cloudforms_inventory.py script to query for the ip address or hostname field of the VM. One more thing … I skipped a lot of the security checks on certificates (probably not a good thing). It shouldn’t be difficult to alter the script and python requests configuration to point to your certificates for a more secure experience.
Enjoy!
